Lash extensions are one of the most requested beauty procedures. They give the look of thick, long lashes and an expressive eye without daily makeup, and so the number of lash artists keeps growing. At the start of the career every beginner runs into the same question: which materials and tools should go into the starter kit.
The lash kit checklist
Demand for eyelash extensions does not fall, and the comfort of your work and the quality of the result depend on how well the kit is put together. That, in turn, decides whether the client stays happy and comes back to you or not.
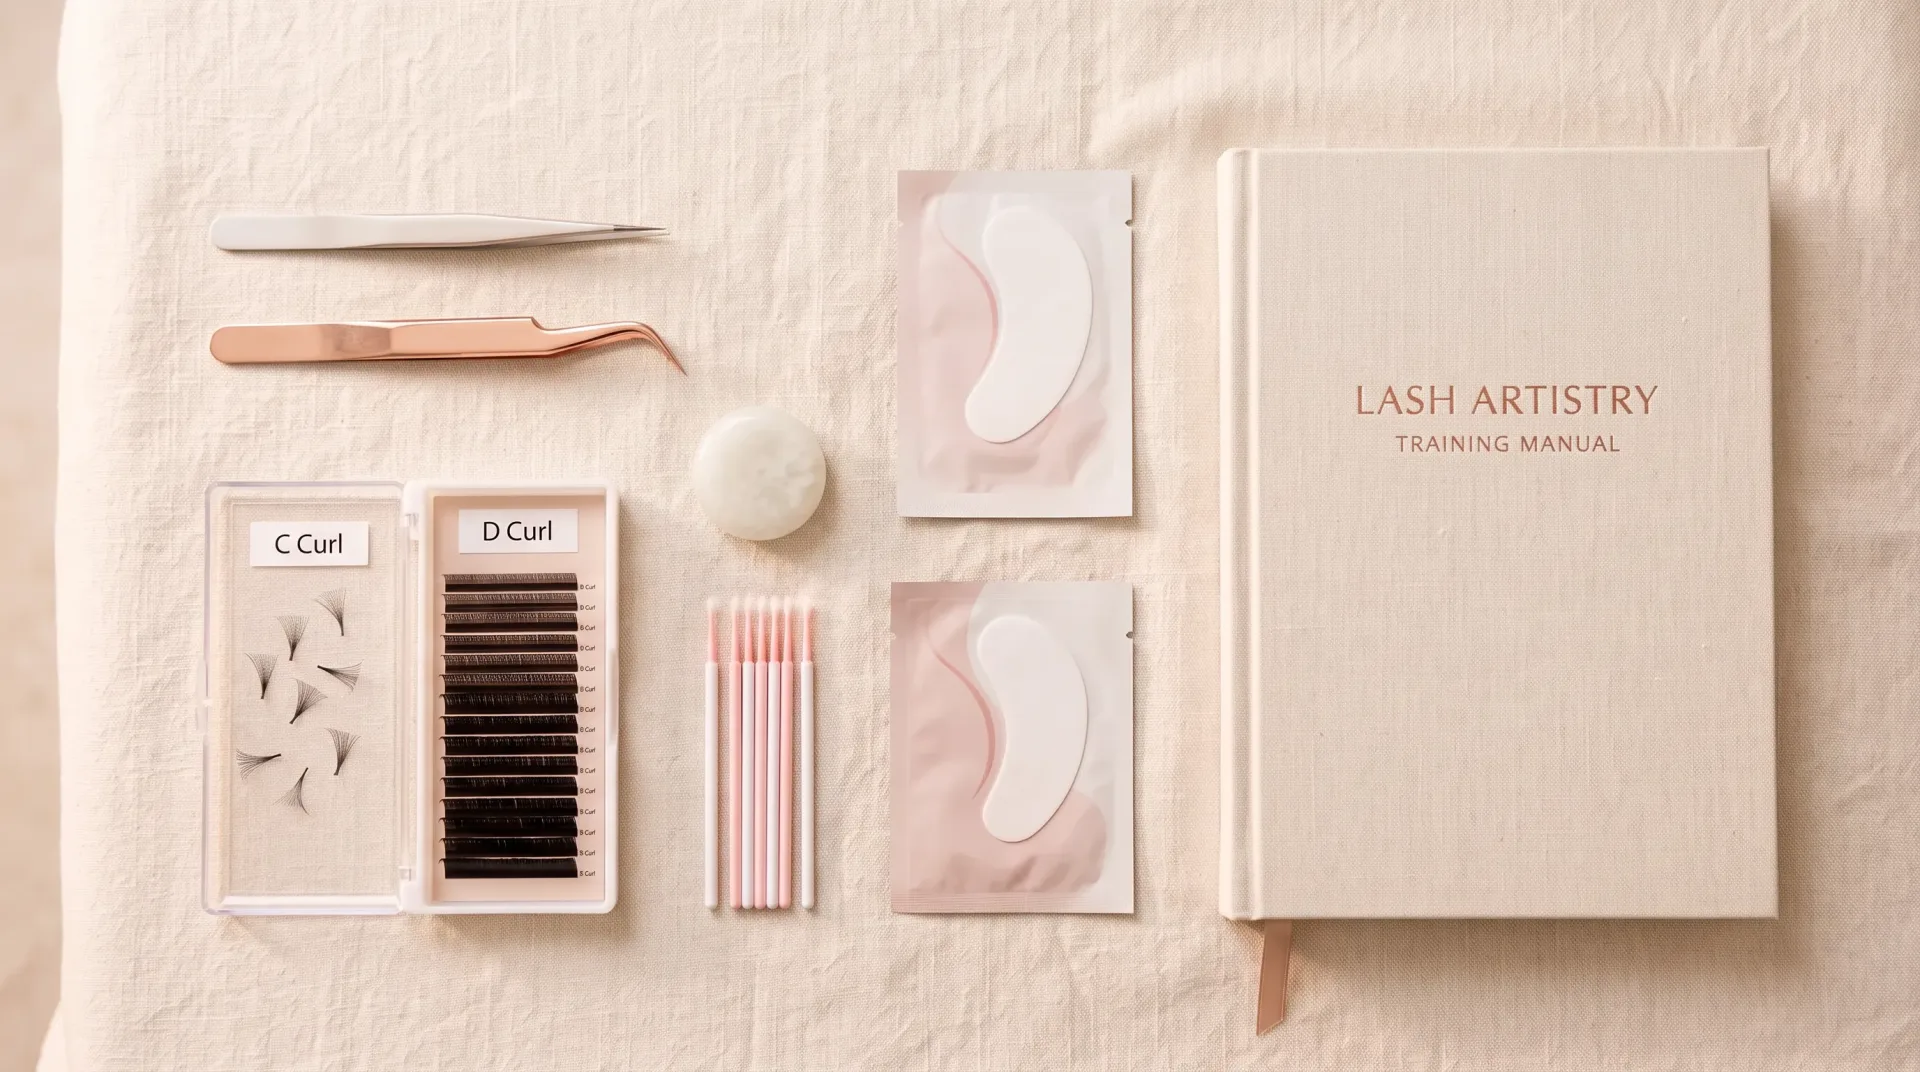
Here is a convenient checklist of the lash supplies list for a beginner:
- lash trays;
- lash extension adhesive;
- cleanser (degreaser);
- primer;
- adhesive activator;
- fume neutralizer;
- remover;
- tweezers;
- accessories to protect the lower lashes and the eyelid;
- consumables.
Over time you will pick up other tools, but what is listed here is the lash extension starter kit for beginners.
Lash trays: the main material
The most important material of a lash artist is, of course, the artificial lashes. You need to learn their parameters so you can create different looks and meet every wish of your clients.
For a beginner's basic kit a mix tray works best, that is, a tray of lashes in different lengths in one of the standard curls, C or D. Do not pick very thin lashes. For a newcomer 0.10 thickness is optimal; another option is to take the thickness you trained on, for example 0.07 and 0.10 mm. As for color, black lashes are a must (one tray of glossy, one of matte). If you like, you can also buy one tray of brown lashes for fair coloring and one of colored lashes, since a request for an unusual look may come already at the start.
Do not buy single lengths right away. You may not take to the procedure, and then they will not be needed. Later, when your book is full, trays of a single length will appear in your stock, because material will run out faster. Different colors, gradients, thicknesses and rare curls come with that too.
In the end, to start you need 2 to 4 lash trays.
Adhesive and the prep liquids
The adhesive is the second most important material. Adhesives differ in consistency, speed of polymerization and color. Black adhesive is used with black or brown lashes, clear adhesive with colored lashes. White adhesive is rarer, and it also turns clear as it dries. Most artists start with black, but there is no fundamental difference.
The bonding time shows how fast the adhesive fixes the artificial lash to the natural one. The longer it takes to set, the more time a beginner has to correct a badly placed lash, fix stuck-together lashes or the direction. So do not put the fastest adhesive in the starter kit; take one with a bonding time above 1 second, for example 1–1.5 seconds, or even 2 or 3–4 seconds in a 3 or 5 ml bottle. Professionals can work with a 0.5-second adhesive, but that takes skill and practiced movements. Also look at the optimal temperature and humidity: the conditions in the room change the bonding time, so follow the manufacturer's recommendations.
Cleanser and primer
The cleanser removes the rest of the makeup and dirt, takes the dust off the lashes and removes the natural oily film that keeps the adhesive from setting. It is good if it contains allantoin, a soothing component that softens the lash and helps the bond.
The primer cleans the lashes more deeply and dries them, opening the scales of the hair. Some beginners think one product is enough. It is allowed to use only the cleanser, but skipping the primer cuts the wear time a lot. Using only the primer without the cleanser is not recommended at all: the primer cannot remove the oily film, it stays on the surface and does not do its job.
Activator and fume neutralizer
The activator is also called adhesive stabilizer, enhancer or booster. It is needed if you often have trouble with the adhesive, when the temperature and humidity in the room are off. It speeds up polymerization and shortens the bonding time. It works especially well in volume work: if a fan is still hard for you to attach, treat the natural lashes with it first, and the fan will not spread apart. A separate adhesive sealer, applied at the end of the procedure, forms a protective coat at the bond.
Adhesive fumes, over long exposure, can cause an allergic reaction. An allergy is easier to prevent than to fight. A fume neutralizer comes as a gel or a spray; it absorbs the fumes and replaces them with a pleasant scent. It protects the client as well, since some clients also feel discomfort from the fumes.
Remover: not only to apply, but to remove
Lashes have to be not only applied but also taken off. For this you need a special adhesive solvent, the remover. It comes in three consistencies.
The liquid one is sometimes called a debonder. It is almost never used for full removal and needs extreme care. It is handy for removing adhesive residue from tools and any surface in the room except fabric, and for spot work on stuck-together lashes. The gel one suits both full removal and corrections; it is easy to dose and does not run. The cream one is the most convenient for full removal: it is thick, does not run, and the risk of it getting into the eyes is minimal.
| Type | Full removal | Best use |
|---|---|---|
| Liquid (debonder) | Almost never | Partial removal, cleaning tools |
| Gel | Yes | Full removal and corrections |
| Cream | Yes, most convenient | The starter kit |
So for a beginner the cream remover is the one to buy first. Do not forget a liquid one as well, to keep your tools clean.
Tweezers: at least two
For the starter kit you need at least two tweezers. With one you separate the natural lashes; a straight tweezer is handy for this. With the other you work with the artificial lashes, and here artists use both straight and curved ones. Most likely it will be a combination of straight plus curved, or an L-shape or a boot-shape.
Inside each type there are many subtypes. The main criterion when choosing the best lash tweezers for beginners should be your own feeling of comfort. Hold tweezers of different shapes in your hand to find the best one for you. The technique you were taught in class matters too. If you were shown two straight tweezers, buy the same to begin with, and learn curved ones later. The reverse also happens: some instructors teach with two curved tweezers.
If you can, buy both working tweezers in two copies. A tool can slip from your hand and fall, and that can bend the tips. Nobody is safe from this, but you should be able to keep working right away. A magnetic case for safe storage is also worth adding.
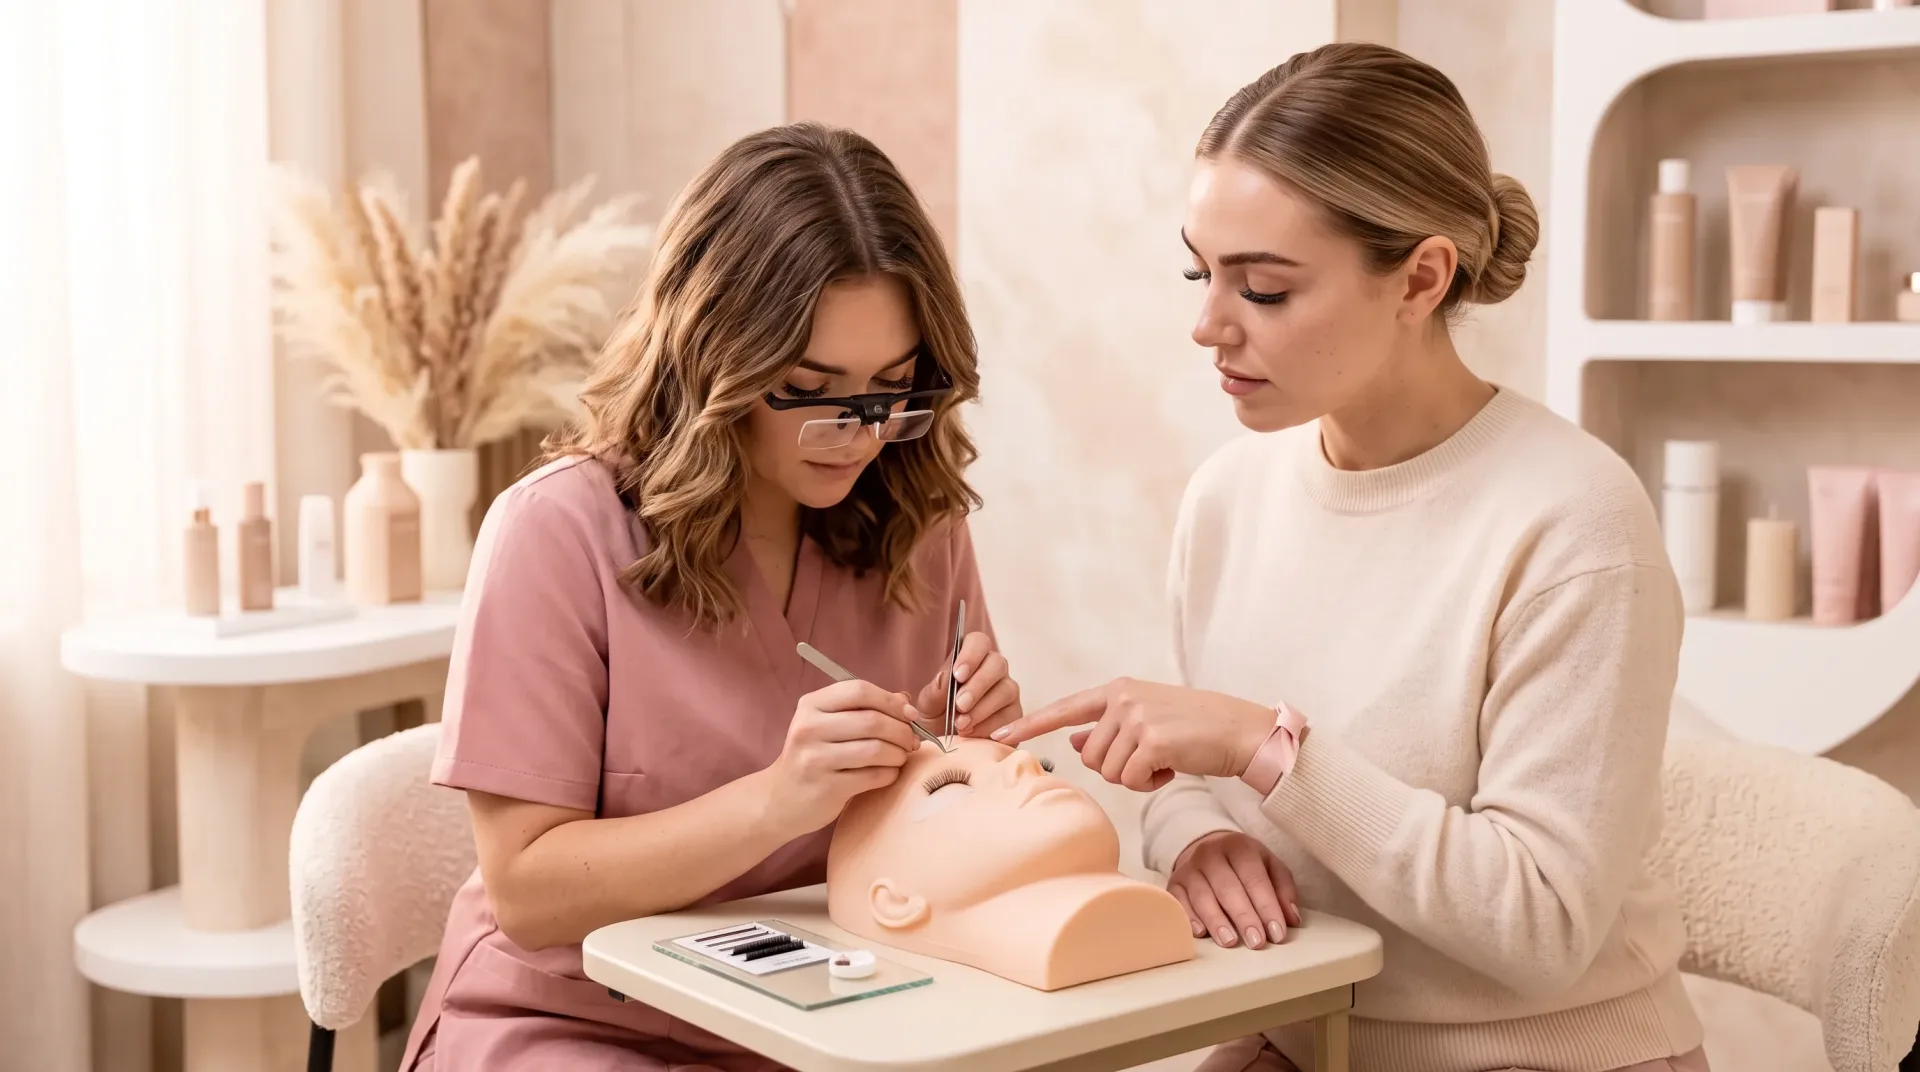
At our lash academy in Cranford, a starter kit is included in both the One-Day Class and the Two-Day Intensive, and students bring nothing: the kit, tools, manual and practice products are provided.
Lower lash protection and consumables
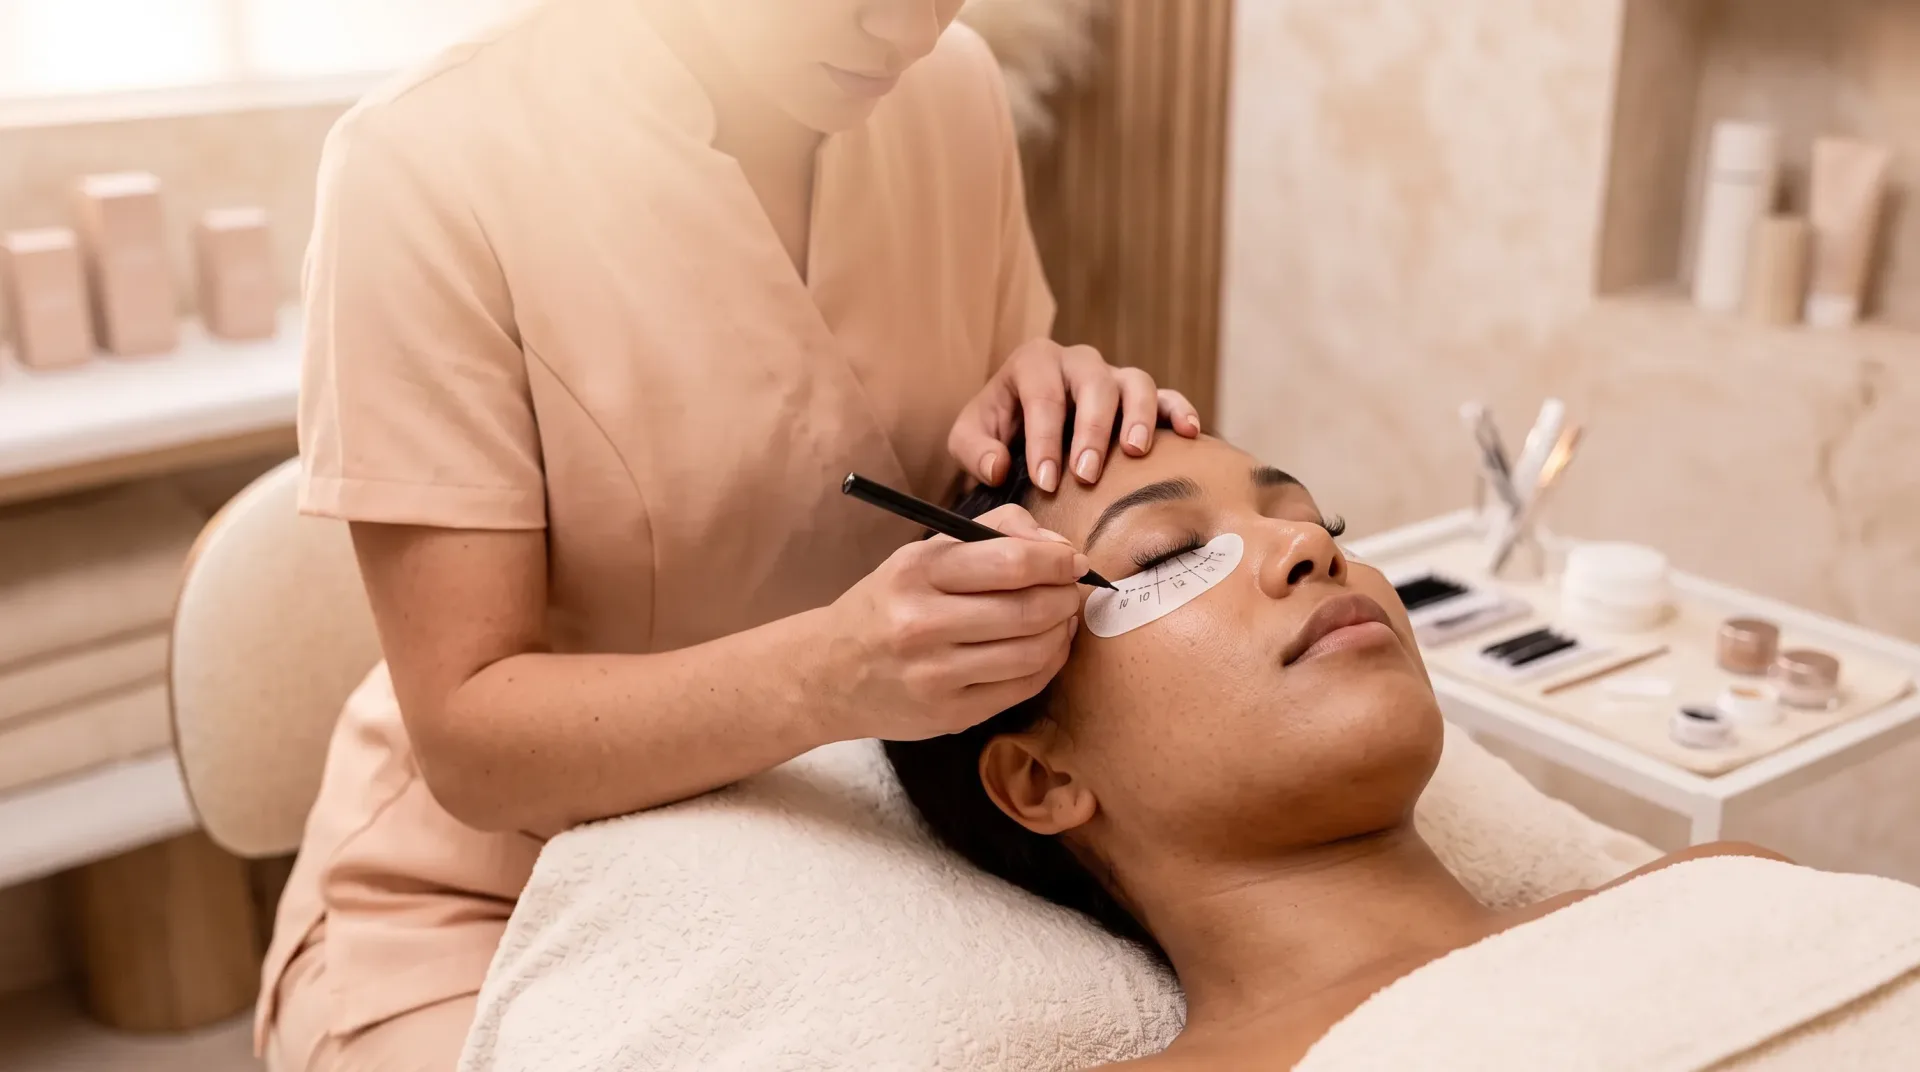
To isolate the lower lashes during the procedure, protective tape or special pads are used. The tape can be paper-based or made of a special porous plastic; both hold well and come off easily. The pads, also called under-eye patches, are mainly of two kinds. Hydrogel ones are hypoallergenic, comfortable for clients, with a light cooling and moisturizing effect. Fabric ones help with mapping: you can mark them with any pen or pencil, so pick a smooth, lint-free surface.
Some think a lash artist does not need to buy consumables. That is not so. The list is not the biggest, but it needs the same care: microbrushes, applicators, cotton swabs and pads, small wipes, nylon or silicone brushes for combing lashes, a gentle oil-free makeup remover such as micellar water, and a jade stone or plastic pallets for the adhesive. For protection of yourself and the client you also need disposable sheets, hair caps, gloves, sleeve covers, a cape for the client's clothes and an apron for your own uniform. Take care of your health early and buy a respirator.
Do
- Use hydrogel patches or a proper lash tape for the lower lashes.
- Choose nitrile gloves: they stretch, resist tearing and have texture on the fingertips.
- Buy adhesive, cleanser, primer and activator from one manufacturer.
- Buy from professional lash supply stores.
Do not
- Use ordinary office tape, even paper-based, on the eyelid.
- Work in vinyl gloves, which can tear even from a light poke of the tweezers.
- Pick latex gloves if you can avoid them — many people are allergic.
- Chase low prices on dubious sites with unknown formulas.
Office tape is a doubtful saving: it can damage the delicate skin of the eyelid and cause swelling and pain after the procedure. Products from professional stores come with their documentation, and products of one brand avoid possible incompatibility — an adhesive often works best together with the cleanser, primer and activator of the same brand.
Disinfection and the workspace
Some artists say: we do not pull lashes out, so why so much care? Still, you work very close to the mucous membrane of the eye, and tears are also a body fluid. All procedures should be done only with sterile tools, and consumables should be either disposable or disinfected and sterilized after each client. For disinfection you need a concentrate for tools and cleaning, with indicator strips for it, a spray or wipes for quick disinfection of the workstation after each client, an antiseptic for hands and gloves, and a dedicated container. For sterilizing reusable tools you need a sterilizer, sterilization pouches, test strips and a tray for moving clean or used tools.
And comfort of work matters too. For working: a lamp, a bed, a rolling cart, a chair for the artist, a cabinet for stock, a fan for drying lashes, and a separate spot for disinfection. For organizing the workspace: a lash box, a lash tile on which you fix the length range you plan to use (bought together with a box, it makes preparation fast), and a jade stone for adhesive. For the client's comfort: a blanket, pillows for the neck, lower back and knees, and a room in neutral tones. Students coming from Kenilworth have about five minutes to the Cranford studio along the Boulevard.
Choose only quality, certified products and trusted suppliers for everything on the list. If everything is picked correctly, the procedure goes comfortably and safely, and the client does not look for a new artist.