Long, thick lashes give the eyes depth and a special pull, so lash extensions will always be in demand. Demand creates supply, and many women decide to learn the lash artist's trade. For some it becomes extra income, for others the main work, and almost every newcomer asks the same thing first: where to start, with classic or with volume?
Start with the base, not with everything
There is a lot of competition in this field, so a future lash artist has many questions and doubts. Where to train? What tools and materials does a beginner need? Will it even work out to learn a new profession?
When you look at training programs, do not go to a school that offers to teach you everything at once: classic, volume, lash lift and so on. If you want really good information, learn the new profession gradually. Start with the base program, which is classic lash technique.
A lash artist is not someone who just glues on artificial lashes. The artist corrects the shape and size of the eye, changes the volume, color and length of the lashes, and visually corrects some features such as a hooded upper lid or deep-set eyes. The professional duties include all the techniques (classic, 2D, 3D and so on), choosing materials for each client, correction and removal, and cleaning and sterilizing tools according to sanitation rules.
What classic is and how a set goes
Classic extensions mean one artificial lash glued to each natural lash. Sometimes the service is called "classic volume," but that name is not quite correct. Volume means extending fans made of several artificial lashes at once. Two lashes in a fan is 2D, three is 3D, and so on. In classic, one lash goes on one natural lash. The difference between the styles from the client's side is covered in our comparison of classic, volume and Russian volume.
The procedure takes about 1.5 to 2 hours. The exact time varies, because there are differences in the density and number of the client's lashes, in the skills of different artists, in the bonding speed of the adhesive, and in how complex the chosen map is, for example when the artist works with "difficult" eyes: mature, unusually set, with an unusual shape or with noticeable asymmetry.
The order of work is different for different artists, each works as they are used to. Most often they extend on both eyes in parallel, moving from the center of the eye to the corners. A visit goes roughly like this:
Materials for classic work
The result depends heavily on the materials the artist uses for classic. Product quality affects how long the set lasts, the client's comfort and safety. An artificial lash imitates a natural one realistically. Its tip also gets thinner, but the color stays saturated along the whole length, while a natural lash has a colorless tip that is hard to see.
In classic, lengths are combined to make a smooth natural transition from the center of the lid to the corners of the eye. It is better to take a tray with mixed lengths, or to stock trays of single lengths in different sizes. Lengths from 7 mm to 16 mm are sold. A natural classic look is made with 0.10, 0.12 and 0.15 thickness. If the client's own lashes are weakened by bad procedures or illness, 0.07 can be chosen for safety, it weighs almost nothing and does not hurt the natural lashes.
For a beginner it is better to buy the curl and thickness you practiced with during training. A mixed tray with several strips of different lengths and curls is an economical choice for a newcomer. Do not take lashes that are too thin; the best thickness for a beginning artist is 0.10. For the adhesive, the main thing for a beginner is bonding time. The longer the adhesive takes to set, the more time you have to fix a lash that went on badly, so choose a medium drying speed for a starter kit.
Do not confuse primer with degreaser. The degreaser removes the natural oily layer that keeps the adhesive from setting. Primer adds to it and roughens the surface of the lash, so the bond is better. Using only primer and skipping the degreasing step is not allowed, it will not take off the oily film. Use both for the best preparation.
From classic to 2D and 3D
In volume work the artist works with fans: several artificial lashes, joined at the base, go on one natural lash. The fan can be made by hand or taken ready-made. In both cases the artist's job is to pick the parameters, set the direction and get the planned lash pattern.
The main principle is one fan on one isolated natural lash. Isolation lets the artist work with a specific lash; the volume comes from the number of artificial lashes in the fan, and its look from how they open and from the chosen parameters. This is why classic comes first: placement and isolation are learned there, on single lashes, and volume only adds the fan on top of them.
| Technique | Material for one placement | What it adds for a learner |
|---|---|---|
| Classic | One artificial lash | Isolation, placement, direction |
| 2D | A fan of two artificial lashes | Forming the simplest fan |
| 3D | A fan of three artificial lashes | Opening the fan evenly, a neat base |
The number before D shows how many artificial lashes are in the fan. Length, thickness, curl and how wide the fan opens are chosen separately. For example, two 3D sets can be very different in length, lift and overall look. With the hand technique the artist gathers the needed number of lashes herself. In ready-made professional fans the number is already set.
Volume answers the question of how many lashes are joined in a fan. The effect describes the pattern of the set: where the long sections sit, how the length changes and where the visual accent goes. So a fox, squirrel or wispy effect does not replace the choice of volume. First decide what pattern you want, then agree on its density and the material parameters.
Lash fans for beginners
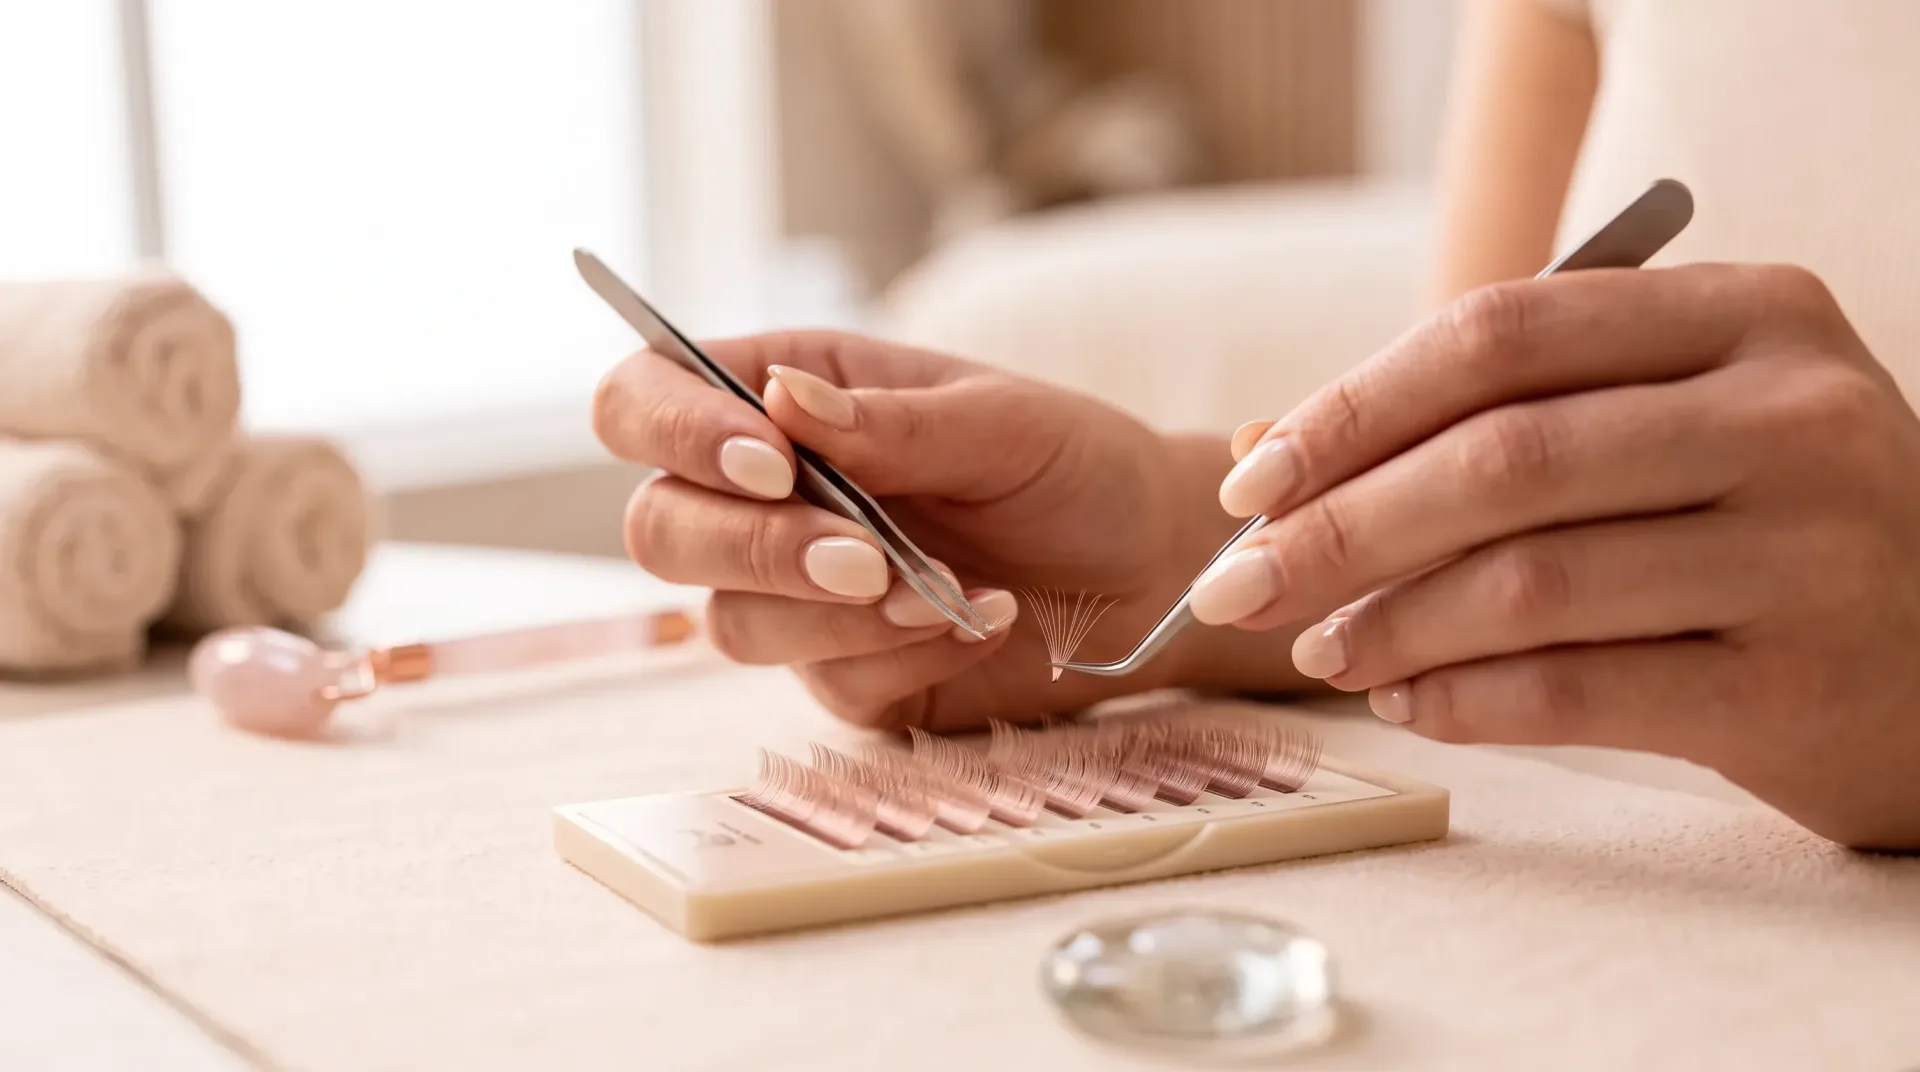
With hand forming you make the fan from single lashes during the procedure. You can set its opening and base yourself and change them for the specific set. In the strip method the artist opens a chosen group of lashes on the strip with the tweezer and then takes the fan off. In practice the important thing is to learn to get the needed shape and keep it while moving the fan. In the pinch method the artist helps form the base of the fan between thumb and index finger in gloves, controlling the opening.
With any hand method, check three things: did you get the opening you need, is the base gathered, and does the fan keep its shape after it comes off the strip. The convenient method is the one with which you confidently get the result the work needs. Grip, movements and working with the material are practiced with an instructor.
Do
- Check that the opening matches the chosen texture and no single fiber sticks out of the shape.
- Gather the fibers into one controllable base.
- Restore the shape of a fan that closed or skewed when you picked it up, or take another one.
- Lay out the lengths in advance so you do not search for another tray in the middle of the set.
Do not
- Leave a base where the fibers spread in different directions at the point of attachment.
- Count on a defect disappearing once the fan is on the lash.
- Choose material by "2D" or "3D" alone, without length and thickness.
In a ready-made professional fan the lashes are already joined. You choose the volume, curl, thickness and lengths, take the fan off the strip and use it. Hand forming drops out of the process, but the mapping of the look stays with you. Time is made of preparation, forming fans, placement and checking. If you are looking for ways to work faster, notice which stage takes the most time.
As the row fills in, check against the map: where the length transition runs, which part should be more expressive, how the second eye looks. At the end check direction, symmetry and that there are no stuck-together lashes.
How to choose where to learn
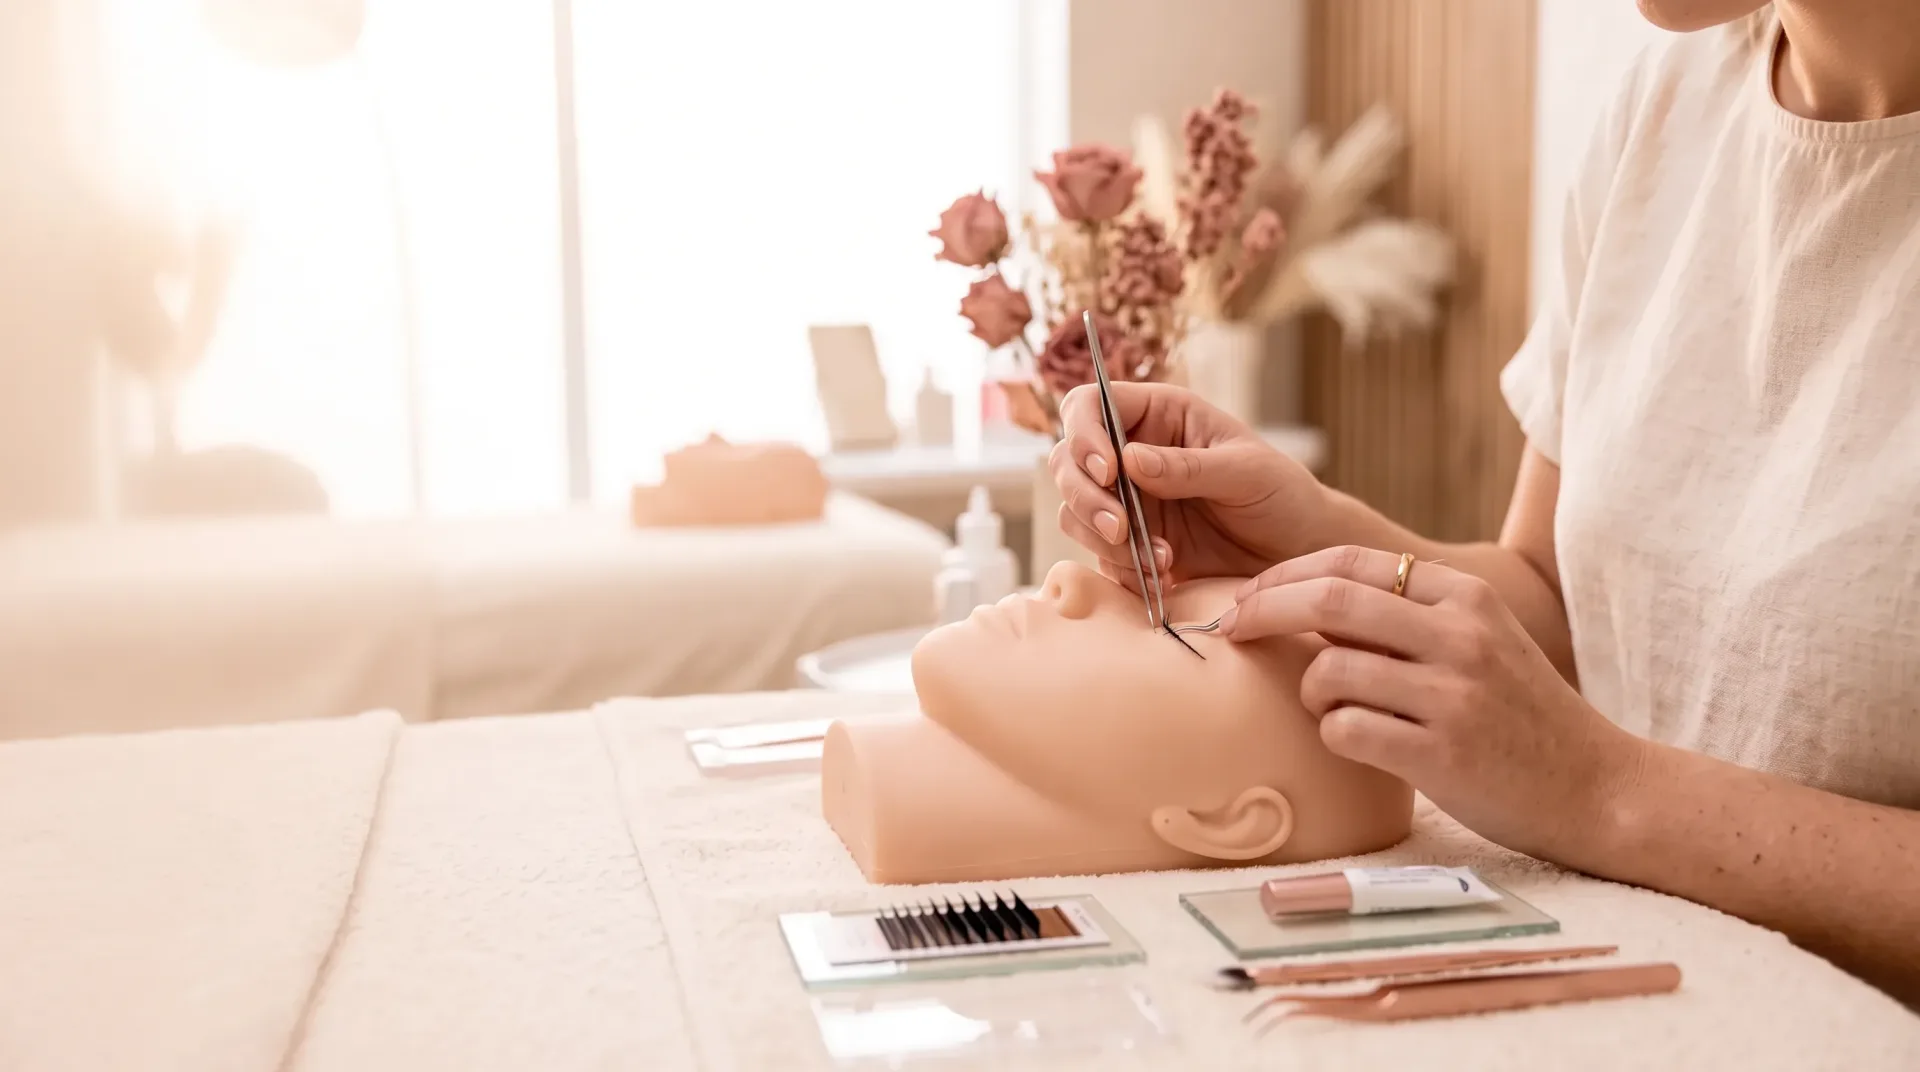
The most popular question is whether you can learn extensions on your own. No, and once more no. No video from the internet will build your hand the way a professional artist will. Every beauty worker is also responsible for clients' health: low-quality adhesive causes allergic reactions, a broken technique can injure the cornea, and a non-sterile procedure leads to eye infection. Look at the content of the course, at practice not only on mannequins but on live people, at who teaches and at the size of the group. Choose individual training or mini-groups of up to three people. Nobody learns to handle tweezers confidently in a day or two; only many hours of practice give clean and fast work, so support from your instructor after the course matters a lot.
At the lash academy in our Cranford studio training is one-on-one in a real salon, taught by the salon owner with 10 years of international experience. The One-Day Class ($850, 8 hours with a 30-minute lunch break) is for beginners: full theory, sanitation and hygiene protocols, choosing looks for facial features, best brands and where to order, mannequin practice, practice on one live model and classic basics. The Two-Day Intensive ($1,300) adds protocols and volume basics, practice on 2 additional live models, more one-on-one guidance and extra focus on isolation, retention and speed; the studio recommends it for the extra live-model practice. Both include a starter kit, a training manual and a certificate of completion, and students bring nothing.
The work goes in four steps: theory and demo; mannequin practice, where you build your hand on isolation, placement and fans until it feels natural; a full set on live models with the instructor beside you, correcting in real time; and a certificate, kit, manual and a plan for your first clients. After the course there is ongoing support with questions, retention troubleshooting and product advice. Students from Union have about ten minutes to the Cranford studio up Galloping Hill Rd.
Isolation and placement are learned on single lashes, and every fan later sits on the same isolated lash. Learn the profession gradually, and add 2D and 3D once classic feels natural in your hand.