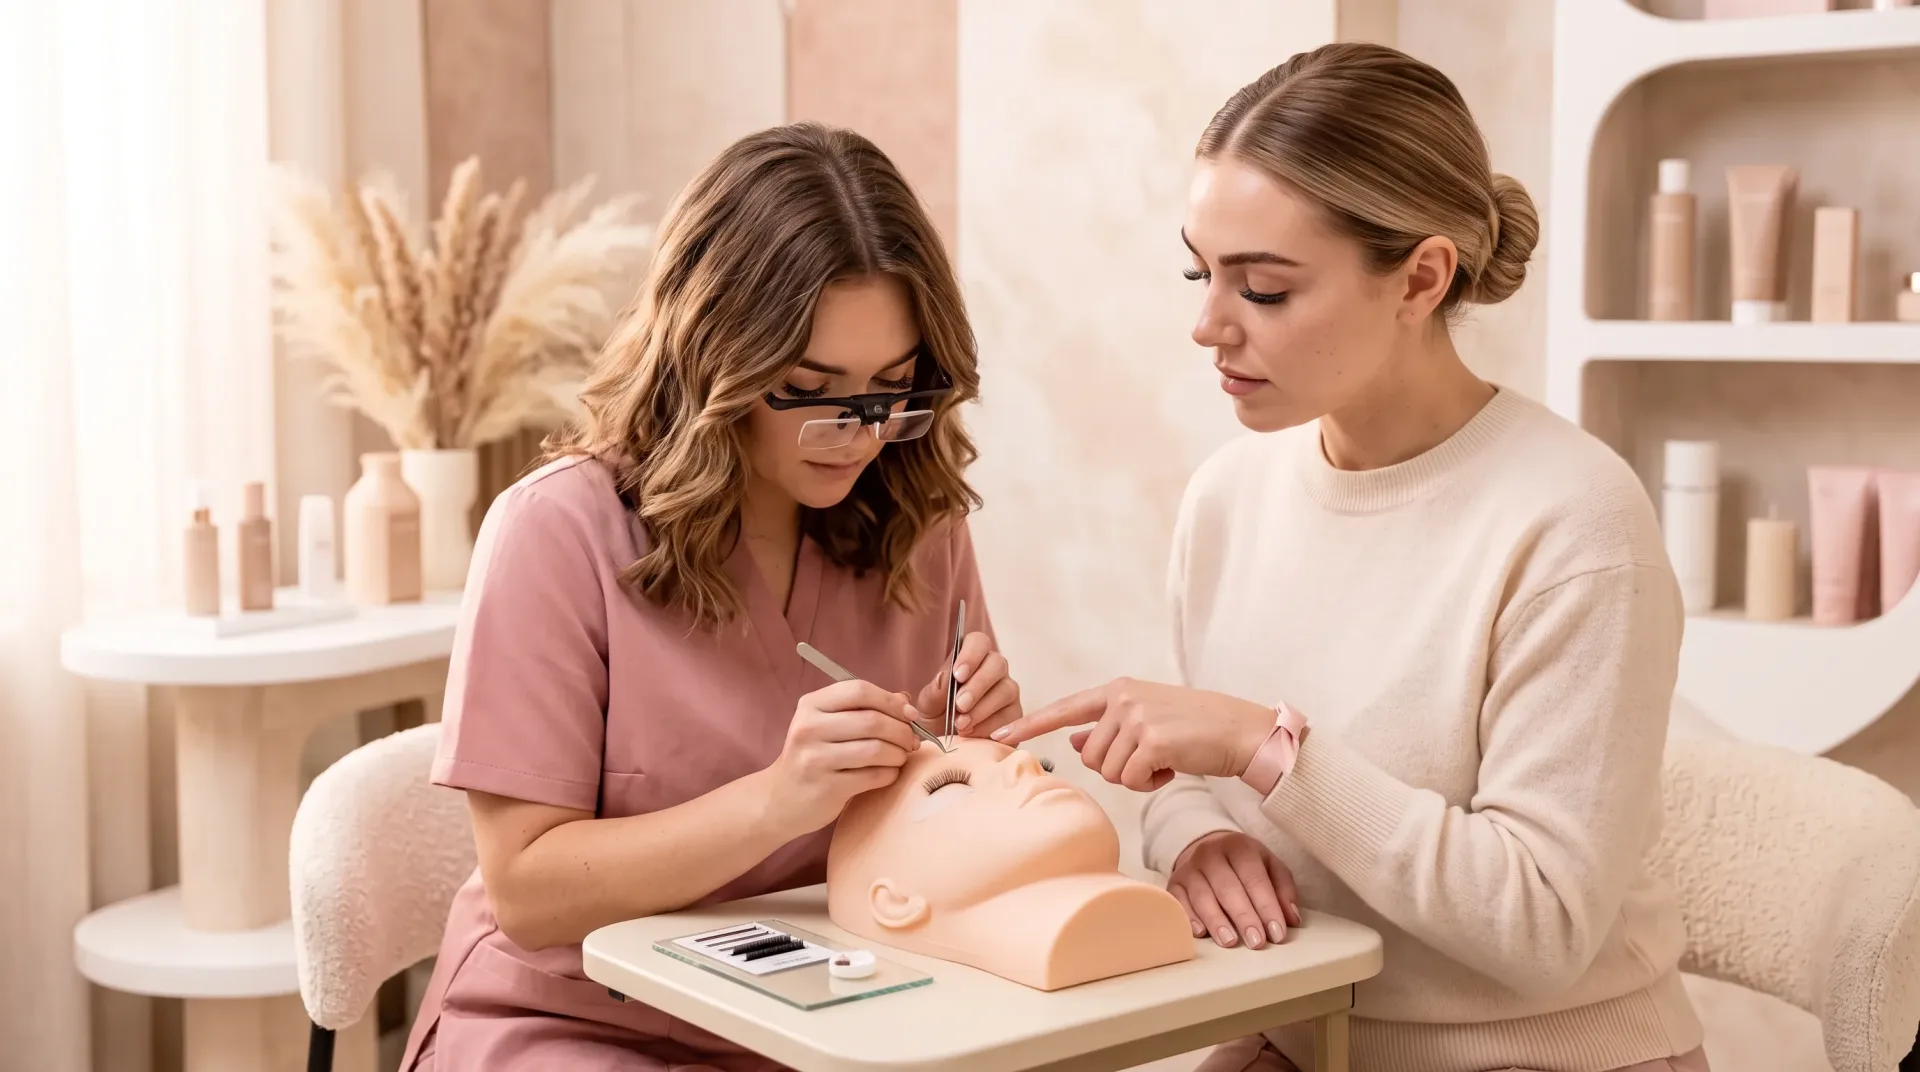
A beginner lash artist runs into many problems at the start. You have to learn to work with the adhesive and the materials, but you also have to learn how to talk with clients and how to build the key effects. Lash mapping is one of the first of these skills, and it is the one that decides how the finished set looks on the face.
What a lash map is and why you need one
A map, or scheme, is a guide for the artist. It sets which parameters of synthetic lashes to use and how to combine them to recreate one effect or another.
Combining the parameters of the extensions lets you get a neat and natural look. The right choice of effect gives more than a nice curl and volume. It also helps balance the features of the face and bring forward what is good in a person's appearance.
Beginners often take ready-made schemes from the internet. But in beauty work you cannot fully copy a reference result. When a client comes in and asks you to make it "like in the picture," the result will not come out the same. Every client is different: the size and shape of the eyes differ, the thickness and density of the lashes, their length and their curl.
The only answer is to learn to read each client's starting point and to build an individual map. Experience comes with time, through work with clients and through studying the work of other artists.
How to mark the map
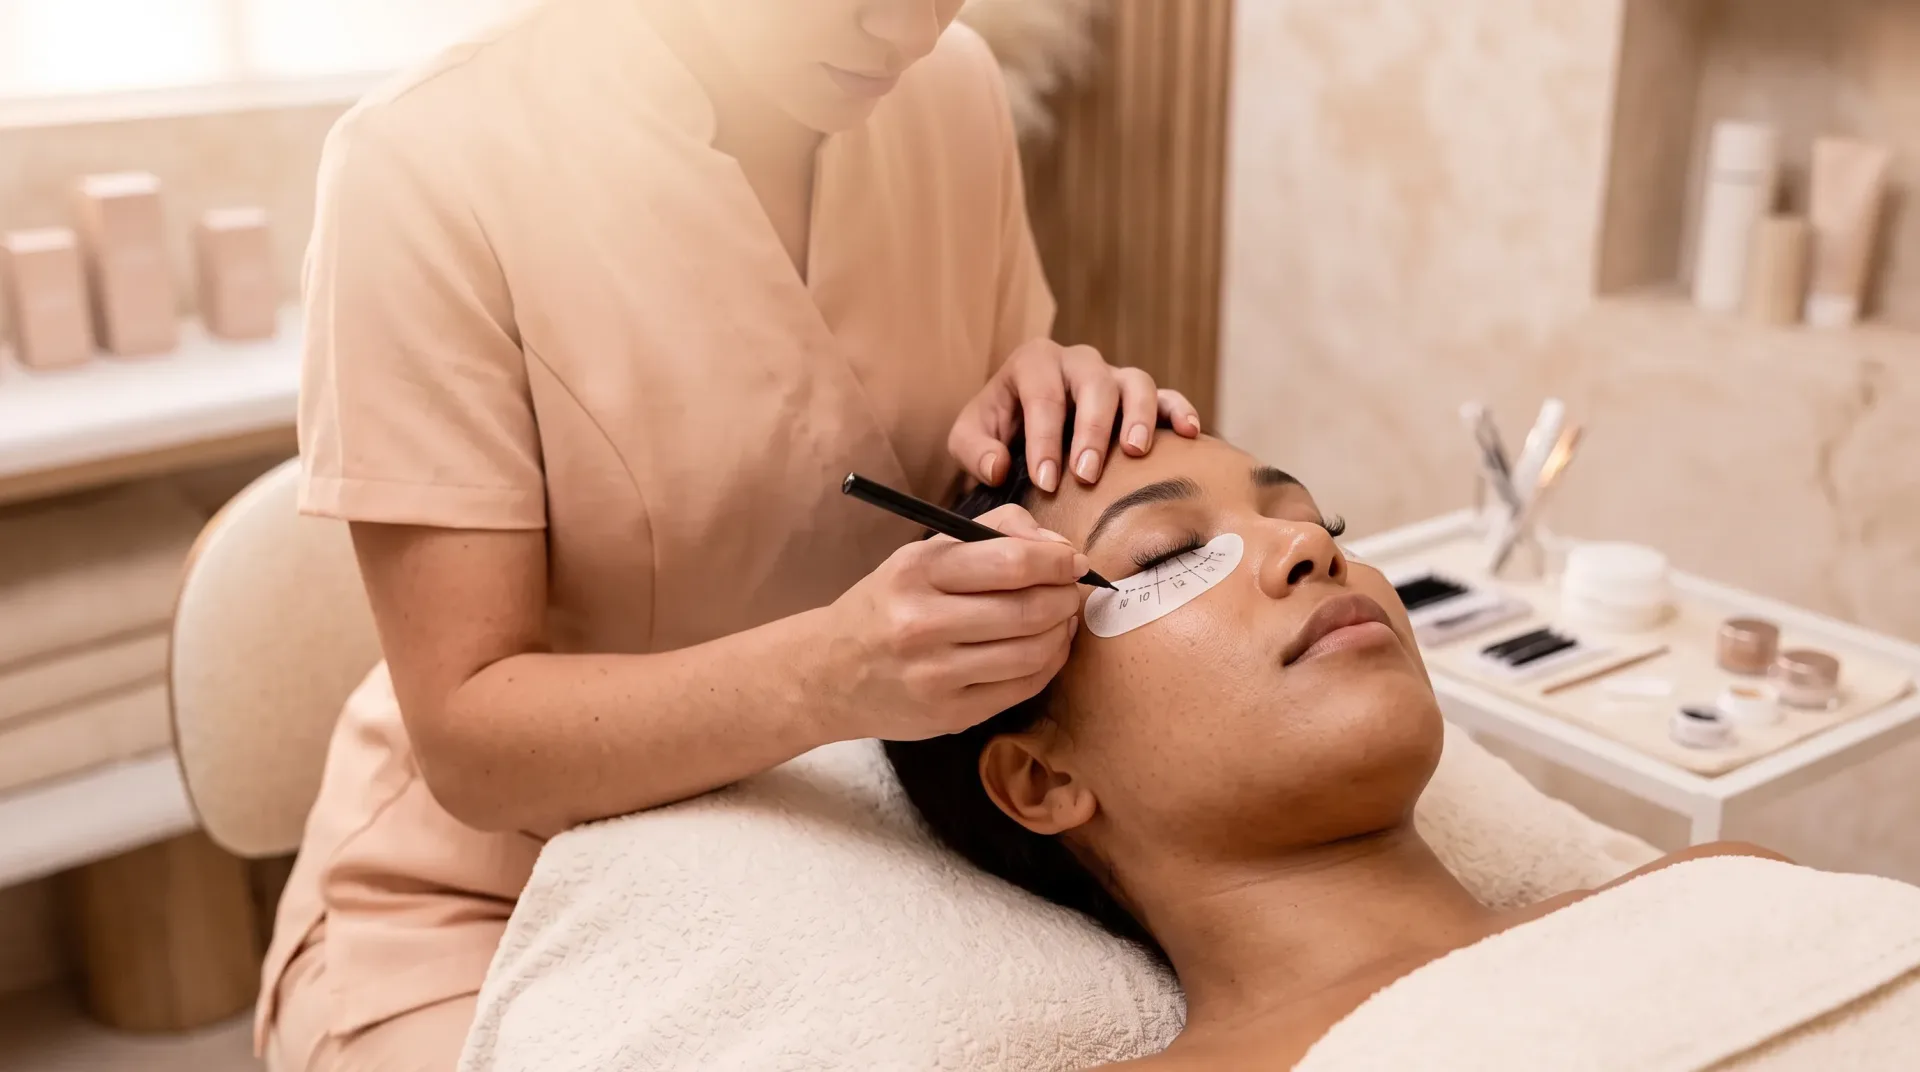
The artist first has to judge by eye which effect will suit the client, taking into account the shape and the setting of the eyes. Only then does the marking start. It goes in several stages.
The first and the last sector should match the length of the natural lashes. After that the length goes up gradually, by no more than 1 mm at a time.
Another common method uses a scheme of the eye built around the center of the pupil. The center of the pupil is marked on the upper lid, and the lid is divided into four equal parts with a pencil or a liner. For effects that lengthen the eye, short lashes of 3–6 mm are placed in the outer corner.
The basic effects
Classic work is the technique for a natural result: one synthetic lash is attached to each natural lash. In volume work several synthetic lashes are attached to one natural lash. How these two approaches differ is covered in our piece on classic, volume and Russian volume. The effect itself, though, comes from how the lengths are placed along the lid.
Natural effect
It uses lashes from 6 to 10 mm, with the length changing smoothly from the outer corner to the inner one. Most clients choose this option.
Fox effect
It uses lashes of three or four lengths, with a sharp step from short ones (6–8 mm) to long ones (up to 15 mm), and moves the accent to the outer edge. It suits round eyes and close-set eyes.
Doll effect
All the lashes are equally long (12–15 mm) and are attached along the whole lid. It does not look natural, but it makes elongated eyes look bigger.
Squirrel effect
It is similar to the fox, but after a certain point the length goes down again. It is advised for almond-shaped and round eyes.
Sparse effect, or "rays"
The lashes are attached not to every natural lash but with some gap between them, and the sizes alternate. It suits lashes that are thick by nature. The point of the rays is that a cluster of 2 to 5 lashes with minimal opening is placed about every centimeter, and the clusters should be longer than the main length. It can be used on top of any base effect.
Cat effect
The length grows smoothly and reaches its maximum at the outer corner of the eye, which gives a lifted look. It corrects a round eye shape.
Lengths zone by zone
Below are base schemes by zone, built on the method with the pupil center and the lid divided into four quarters. The numbers are lengths in millimeters. In each scheme the lengths are a starting point and are adjusted to the client's own lashes.
| Effect | Outer corner | Outer half | Inner half |
|---|---|---|---|
| Classic | 7–10 | 11 | four sections, 6–10 |
| Oval (natural) | fourth quarter: 7, 8, 9, 10 | third quarter: 11 | three sections, length grows step by step |
| Sharp fox | short, 7–10 | fourth quarter: 11 (max); third quarter: 9, 10 | 6, 7, 8 |
| Smooth fox | 7–10 | fourth quarter: max; third quarter: 10 | smooth transition from 6 to 9 |
| Sharp squirrel | first zone: 7–10 | second and third zones: 11 and 10 | 6–9 |
| Doll | short, 7–10 | max length over two thirds of the lid | three sections, length grows step by step |
For the sharp squirrel the outer half is split into three equal parts. In the natural squirrel the third part of the outer half takes 7–10, the first and second parts take the maximum length of 11, and the inner zone takes 6–10.
Base schemes like these are easy to find. Still, they are a frame. The map is corrected for the specific situation and for the chosen effect every time.
Lash styles for eye shapes
The choice of effect depends on the features of the face. For close-set eyes a cat or fox effect works, for wide-set eyes a doll effect. The natural effect brings out the natural look, and the squirrel gives a slightly surprised expression.
Deep-set eyes. Large curls are avoided here. The artist should combine different degrees of curl and curl only the tips of the lashes.
Close-set eyes. The volume is placed on the outer edge.
Small eyes. Specialists use D and C curls.
Wide-set eyes. An even curl on all the lashes is needed.
Regular shape. The depth of the curl increases as you move toward the outer corner.
Round shape. The accent goes on the outer edge, with longer lashes there to stretch the eye visually. A sharp step from short lashes in the inner part to longer ones in the outer part also pulls round or prominent eyes longer.
Tips for building a map
Each client needs her own map. Do not be afraid to experiment with lashes of different lengths, and do not hold on to the sector widths from the textbook when the eye asks for something else.
The standard advice is to make the central sectors wide. But for almond-shaped eyes all sectors can be made equal in width.
Do
- Read the size, shape and setting of the eyes before choosing the effect.
- Match the first and last sectors to the length of the natural lashes.
- In the inner corner, use lashes whose length, thickness and curl repeat the natural ones.
- Practice a lot and try different combinations.
Do not
- Promise a client the exact result from a picture.
- Raise the length by more than 1 mm from one sector to the next.
- Use large curls on deep-set eyes.
- Copy one ready-made scheme onto every client.
Toward the center you can use longer lashes with an extreme curl, or colored ones. The inner corner stays close to nature.
The main advice is to train more and to experiment. Skill comes through trial and error.
Learning lash mapping in class
At the Eye Decor Lash Academy in Cranford, lash mapping is part of the curriculum: how to map and style a set for every eye shape. The One-Day Class covers full theory, choosing looks for facial features, mannequin practice and practice on one live model. The Two-Day Intensive adds volume basics and practice on two additional live models, with extra focus on isolation, retention and speed.
Training is one-on-one in a real salon environment, taught by the salon owner. You first build your hand on a mannequin until isolation, placement and fans feel natural, then do a full set on real models with the instructor beside you. Students who come from Elizabeth reach the studio in about fourteen minutes along North Ave. Beginners are welcome, and the kit, tools, manual and practice products are included.