New lash artists get nervous with their first clients, and their hands shake. A course gives the theory, but there is often not enough practice, and that shows in the quality of the work. Lash mannequin practice is how that missing practice gets done.
Why train on a mannequin
Some beginners try to practice on paper. It does not work well: a flat sheet gives no idea of the shape of the eye or the line where the lashes grow. A mannequin solves this problem.
It has several advantages. You can take breaks without harming a client. It repeats the shape of a human head. It can be used many times. You train when it suits you, not when a model is free. And it helps you organize your workspace, because you set everything out the same way you would for a real procedure.
Without practice there is no progress. At the start you need to practice as much as possible, improve your technique and work on your mistakes. Do not be afraid of them — every lash artist started with mistakes. What matters is to look at them and draw conclusions.
What a practice head looks like
A practice head for lashes repeats the average size of a human head and has a flat back. The surface is smooth and imitates skin. This lets you work out the position of your hands and where the glue, the tweezers and the lash palettes go.
There are two types. The first has removable training strips that are glued onto the eyelid. The second has lashes sewn into a silicone eye in several rows, closer to a real lash line.
A good mannequin with built-in lashes is expensive. A head with strips is cheaper, but the strips have to be bought again and again. Both types are suitable for a beginner; the second simply gets closer to the real procedure.
How to run a session like a real one
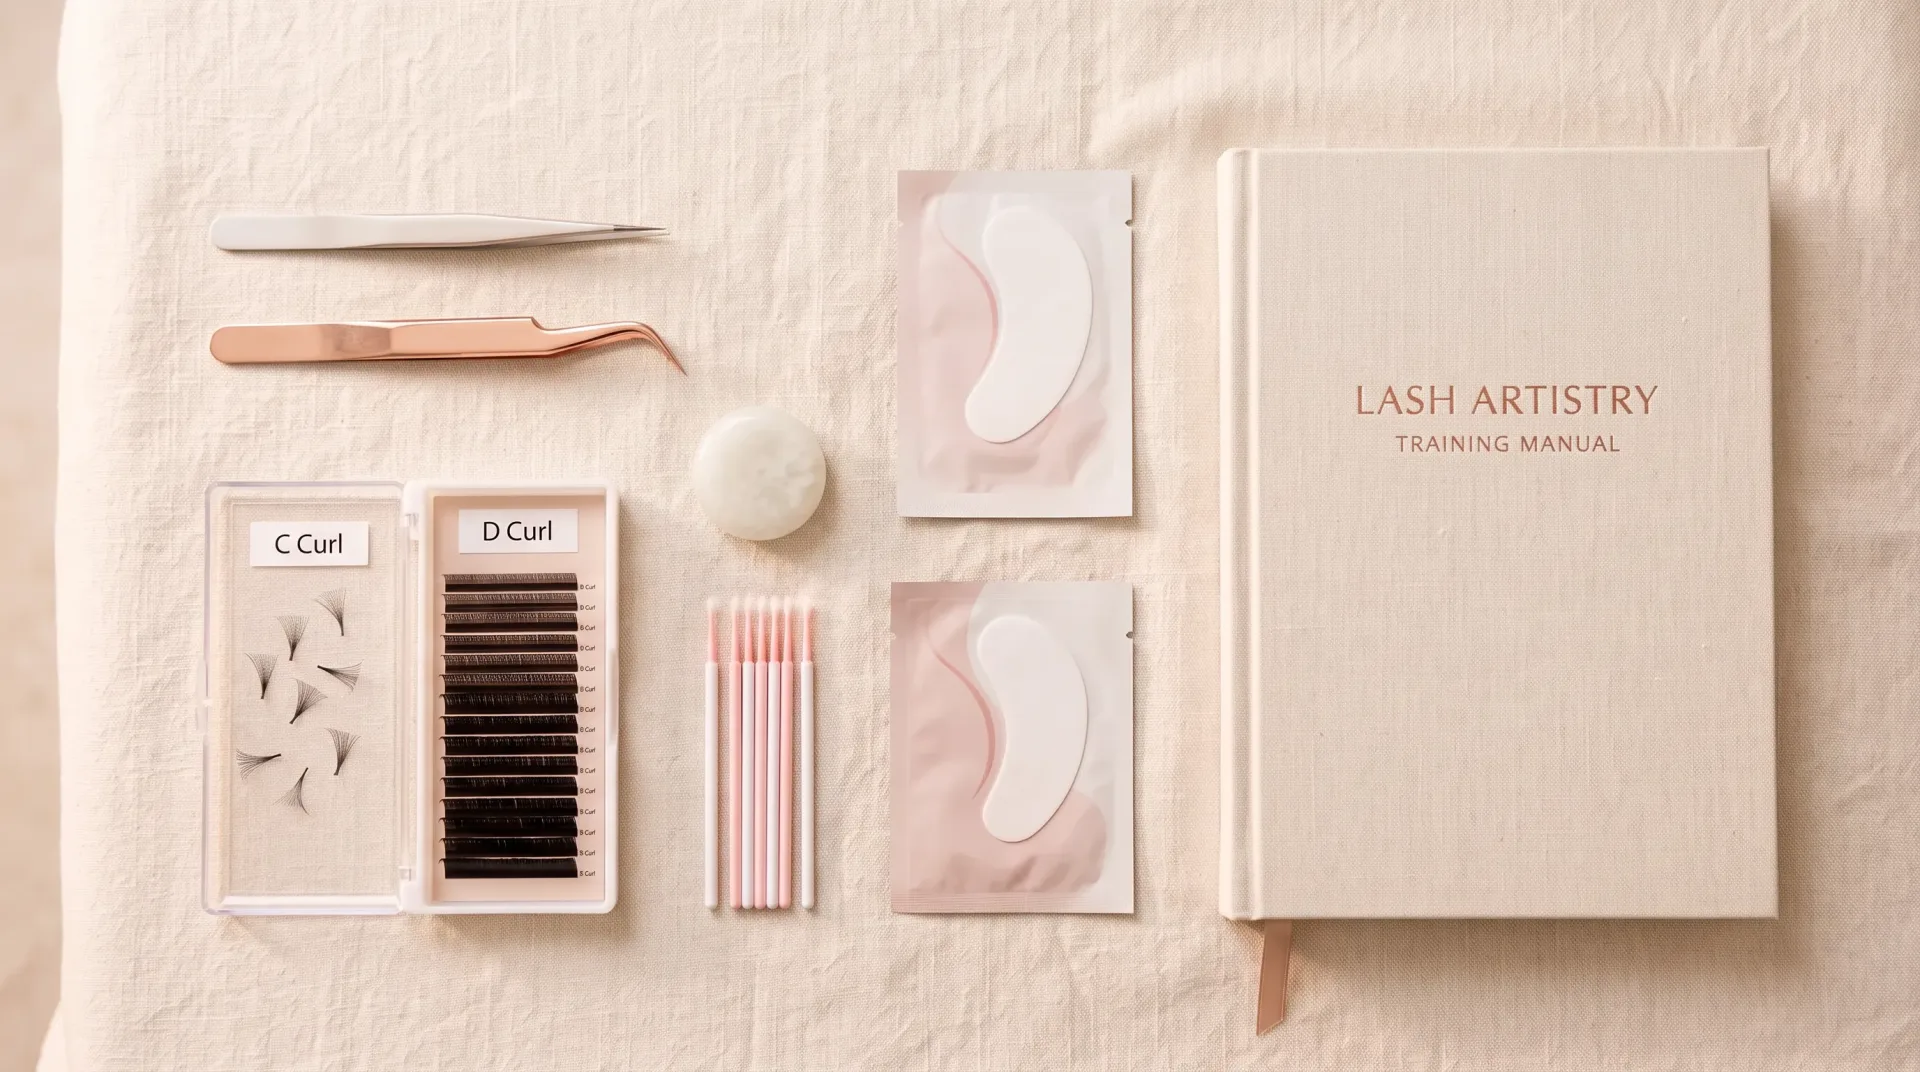
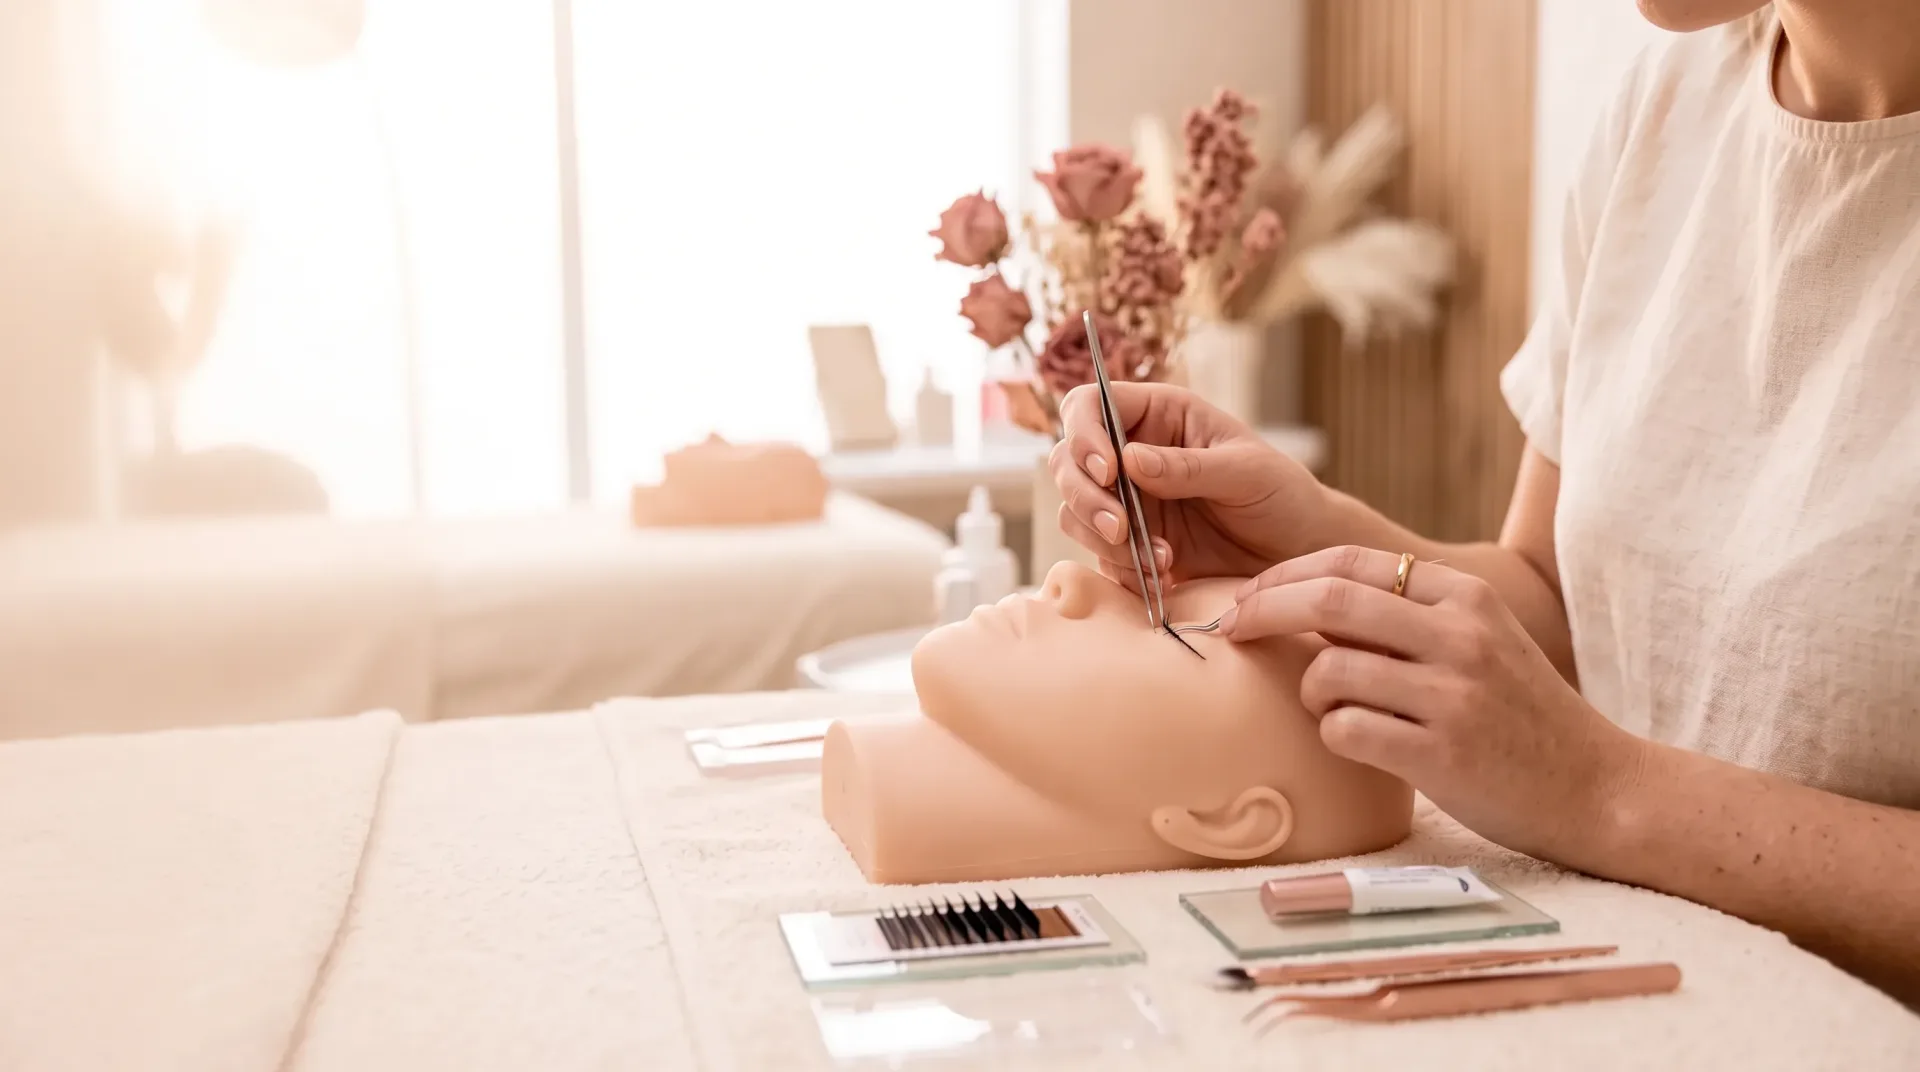
Place the mannequin the way a client's head would lie, sometimes on a neck pillow. Glue a strip of training lashes onto the eyelid if your head has no built-in ones. Lay out the tools and materials. Use a bright lamp with white light. Then work exactly as you would with a real client.
Experienced artists advise one more thing: instead of a ready strip, use a trimmed cotton pad and attach single hairs of different sizes and directions to it. Natural lashes do not grow in one neat row, and this gives a more natural picture to practice on.
Lash isolation practice is the core of the whole exercise. Keep isolating and attaching, one lash after another, and make sure there are no lashes glued together. At the end, check that all the lashes lie evenly, without twisting. The same order is used on a client during eyelash extensions, which is why it is worth repeating it on the head until it becomes automatic.
For the first sets it is better to choose a glue with medium bonding speed. Two tweezers of different shapes are needed: a straight one for isolating natural lashes and a curved one for placing the extension.
Practicing volume fans
Once classic placement goes well, the mannequin is used to train volume. In volume work several thin extensions are attached to one natural lash. The fan is glued with its "stem" to the base of the natural lash, keeping the gap from the eyelid. The base of the fan should be a quarter of its total length. If the base is too small, the fan holds poorly and falls out early. If it is too big, the set looks bulky and heavy.
Artists form fans during the work, and a few rules apply: the distance between the outer lashes matches the number of hairs in the fan — 2 mm for two, 3 mm for three, and so on; the gaps between the hairs are equal; the stem is a quarter of the length; the bases touch closely so they do not cross or spread; the lashes sit strictly one behind another. Do not dip the fan in glue deeper than 1 mm, otherwise the stem gets too long or the fan sticks together.
| Method | How it is done | Best for |
|---|---|---|
| Rolling on the strip | Pull two or more lashes slightly aside without removing them and roll them with the tip of the tweezers until the fan opens | Two to five lashes |
| Repositioning on the strip | Move the lashes together to the sticky zone, press lightly, open the base with an arc movement left and right | More than five lashes |
| By hand | Hold the lashes between your fingers and open the fan by rocking or fluffing it with the tweezers | Artists who already have a steady hand |
When working from the strip, the curved tweezers are in the right hand. The natural lash is first isolated with the straight and curved tweezers, and while the fan is being formed the straight tweezers in the left hand hold it. The finished fan is lifted off so that it sits between the jaws of the tweezers: touch it with the far jaw, catch it gently with the upper one and lift upward so the stem closes.
If the base of the fan spread a little before it went into the glue, it does not have to be thrown away. Dip the stem in the glue and slightly loosen the pressure of the tweezers — this gives a neat base. A light tweezer that is not too stiff helps the hand not to get tired.
Caring for the head between sessions
The mannequin is made for repeated use. After each session the eyelid is degreased and the leftover glue is removed. If the head has built-in lashes, you can also practice removal on it with a remover or debonder.
One warning: do not pull or try to tear off an attached extension. This damages the dummy. Used carefully, the mannequin lasts a long time.
Do
- Degrease the eyelid after every session
- Remove extensions with a remover or debonder
- Work under a bright white lamp, as with a client
- Practice regularly, not once in a while
Do not
- Pull or tear off attached lashes
- Leave glue residue on the eyelid
- Practice on paper instead of a head
- Treat the mannequin as a full replacement for live models
Work with tiny objects like extensions needs well-developed fine motor skills. Patience, care and calm are also needed — lash work is slow and painstaking. And endurance: you spend half a day sitting, and your back and neck are constantly tense. Watch your posture and do exercises for the back and neck.
The mannequin repeats the real procedure as closely as possible, lets you polish difficult techniques and is available at any time. But it has its limits.
From the mannequin to a live model
Learning lash extensions at home from video lessons alone is not a good idea. Any artist is responsible for the client's health: wrong technique can damage natural lashes. Without a live mentor you can develop wrong habits that are hard to get rid of later. Only an experienced instructor will notice and correct mistakes in technique.
The first course is better taken in person, because at the start a lot of attention goes into setting up technique — the position of the hands, the position of the tweezers and many other details the instructor has to check. Practice should happen not only on mannequins but also on live people. Online courses and video lessons are good later, to extend what you already know.
If you still practice at home between lessons, choose detailed lessons rather than short clips, put everything you learn into practice right away, use a practice head or invite models, and ask experienced artists for feedback on your work.
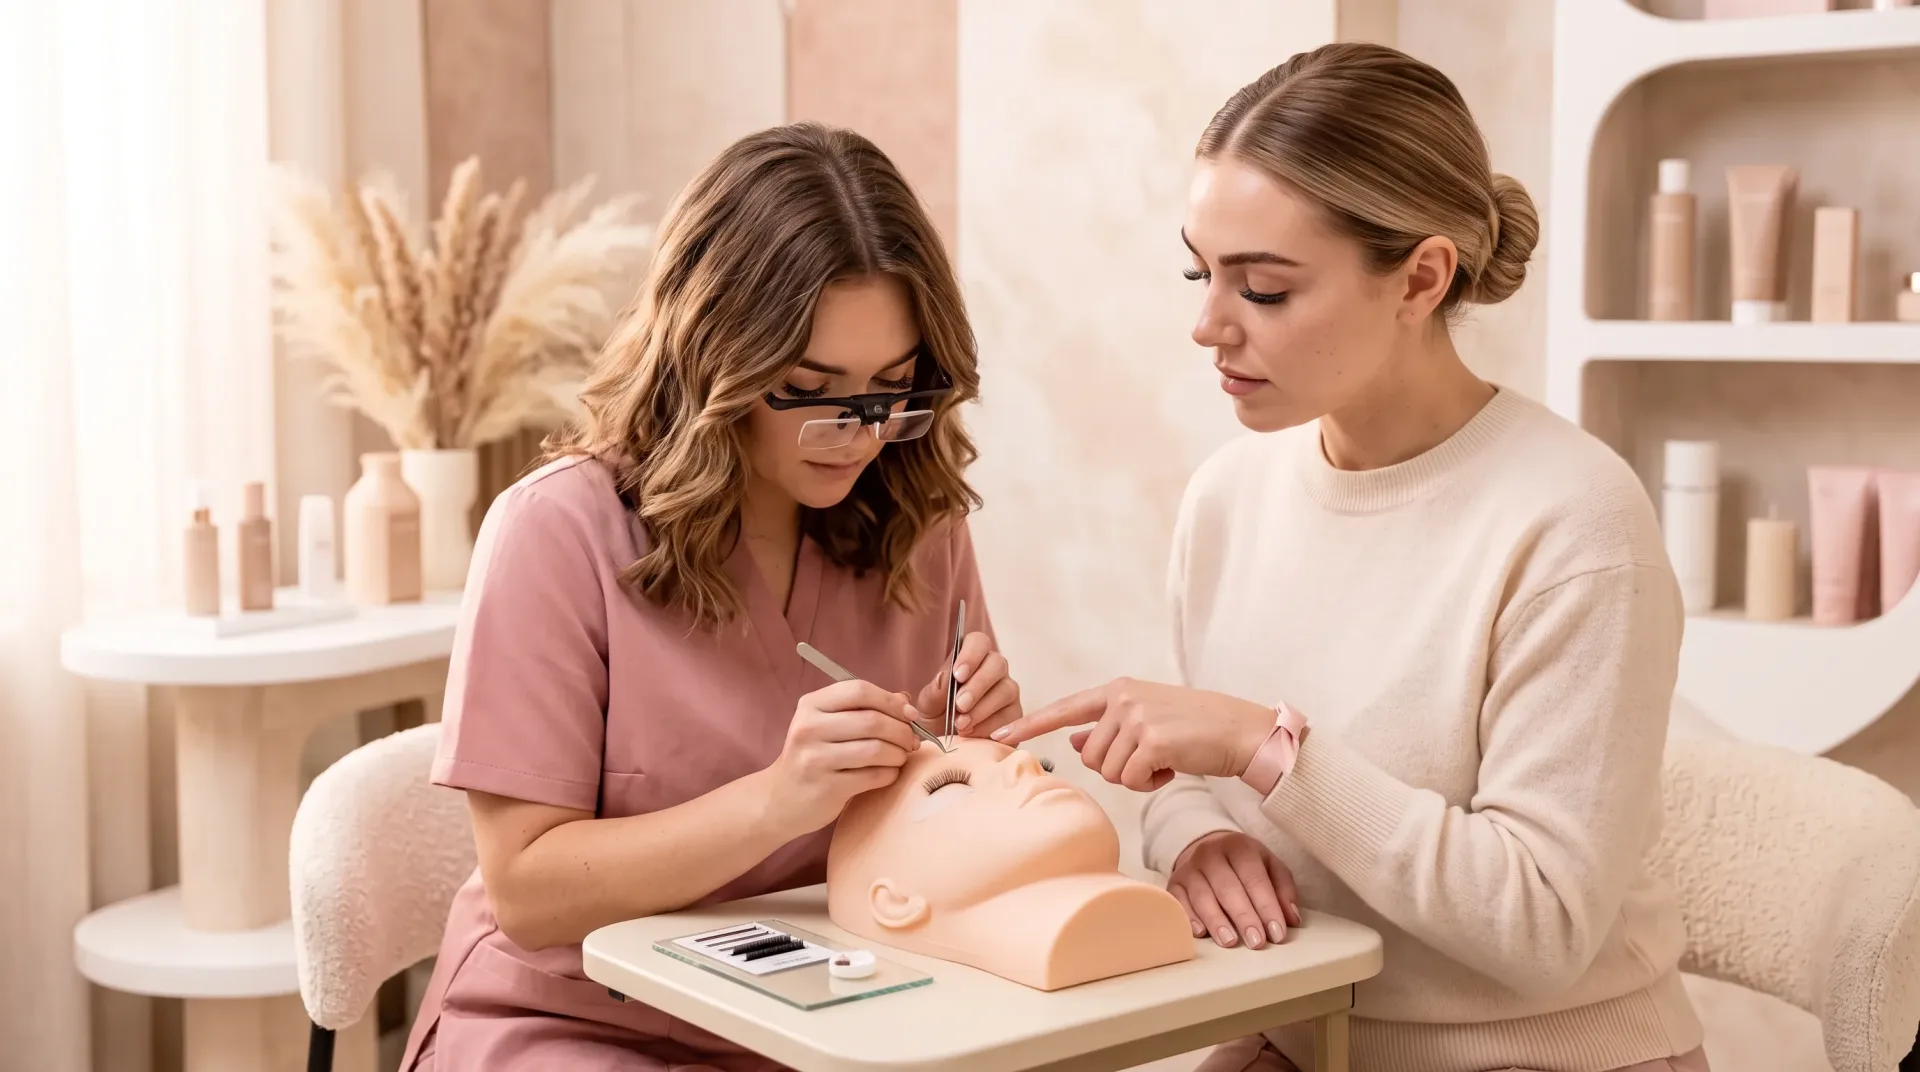
At the Eye Decor Lash Academy in Cranford, mannequin practice is the second of four steps: after theory and a demo you build your hand — isolation, placement, fans — on a mannequin until it feels natural, and then do a full set on real models with the instructor beside you, correcting in real time.
Training one-on-one
The academy teaches one-on-one in a real salon environment, and the classes are taught by the salon owner, who has 10 years of international experience. The One-Day Class ($850, 8 hours with a 30-minute lunch break) is for beginners and includes mannequin practice and practice on one live model. The Two-Day Intensive ($1,300) adds volume basics, practice on two additional live models and extra focus on isolation, retention and speed; the studio recommends it for the extra live-model practice.
Students bring nothing — the kit, tools, manual and practice products are included. Students from Linden have about a twelve-minute drive to the Cranford studio up St Georges Ave.