Long-lasting makeup for events depends not only on the cosmetics but also on how the skin is prepared. Makeup for a shoot or for an evening with a photographer is also always different from everyday makeup, otherwise in photos it looks too dull. Below are the rules that makeup artists follow for the face, eyes and lips, and what the camera does to each of them.
Preparing the skin before anything else
Clean, well-cared-for skin is the key to makeup that lasts all day. Wash your face with a gel or foam suited to your skin type to remove leftover sebum and dirt. Then apply a moisturizing cream, which takes away dryness and helps the foundation spread evenly. Let the cream absorb for a few minutes, and then blot off what is left with a tissue.
If there is a lot of flaking on the face, use peeling pads after washing, but only in "emergency" cases. You cannot use them every day.
A professional camera picks up even small flaws in the skin. For a shoot it is recommended to use moisturizing masks and under-eye patches before the makeup goes on. If time is short, put a moisturizing lotion on a cotton pad and do a light exfoliating massage. Then apply moisturizer not only to the face but also to the exposed areas of the body, so the texture looks the same everywhere. The area around the eyes needs a nourishing cream, so the concealer does not "sink into the fine lines."
Primer, foundation and layering
For everyday makeup a base is not required, but for long-wearing makeup a primer is necessary. It evens out the skin, visually reduces pores, extends the wear of the cosmetics and moisturizes.
Foundation evens out the skin tone. Choose the texture for your skin type: matte ones cut down oily shine, satin ones suit combination skin, and moisturizing ones save dry skin. Avoid textures that are too dense, though — together with concealer and powder they give a dry, heavy look.
For a shoot, the tone still has to be denser than usual. In the frame, the skin looks lighter, so redness, dark circles under the eyes and post-acne marks can stand out. For this reason makeup artists more often use foundation with medium or full coverage for photos and additionally work the areas around the nose, the chin and under the eyes with concealer. A common mistake is to use only a light tint or a BB cream. In everyday life that is enough, but in photos such textures often do not give even coverage, and the skin can look patchy.
"Having concealer on a shoot is even more important than foundation." Use at least two shades: a light one for under the eyes and the sides of the nose, and one matching the foundation to cover imperfections.
Powder, setting and the flash
After it is applied, the tone must be set with powder. This is especially important in the T-zone: the forehead, nose and chin start to shine faster under lights and flash. A thin layer of powder helps keep the matte effect. Loose powder is pressed in with a puff using "twisting" movements, so it smooths flaking and pores.
Makeup artists often recommend translucent powder in the baking technique, but it has downsides: it looks good only in photos, creates a dense layer and emphasizes fine lines. The alternative is ordinary loose powder in your skin tone, applied with a fluffy brush to the forehead, nose and cheeks.
Long-wearing setting sprays work only if you prepared the skin correctly and went through the previous stages. Use the setting spray as the final step, not as a replacement for them. Setting makeup is the end of the routine, not a fix for a weak base.
Finishing the preparation of the skin for photos can also be done with a radiance primer. A highlighter is applied to the high points of the cheekbones to balance the matte T-zone.
Contour and blush for volume
In photos the face often seems less three-dimensional than in life. The cheekbones, the jawline and the temples can be distorted, especially in soft light. So for a shoot a sculpting shade is usually added under the cheekbones, the temples are darkened a little and the jawline is worked. The matte corrector should be 2-3 shades darker than the skin.
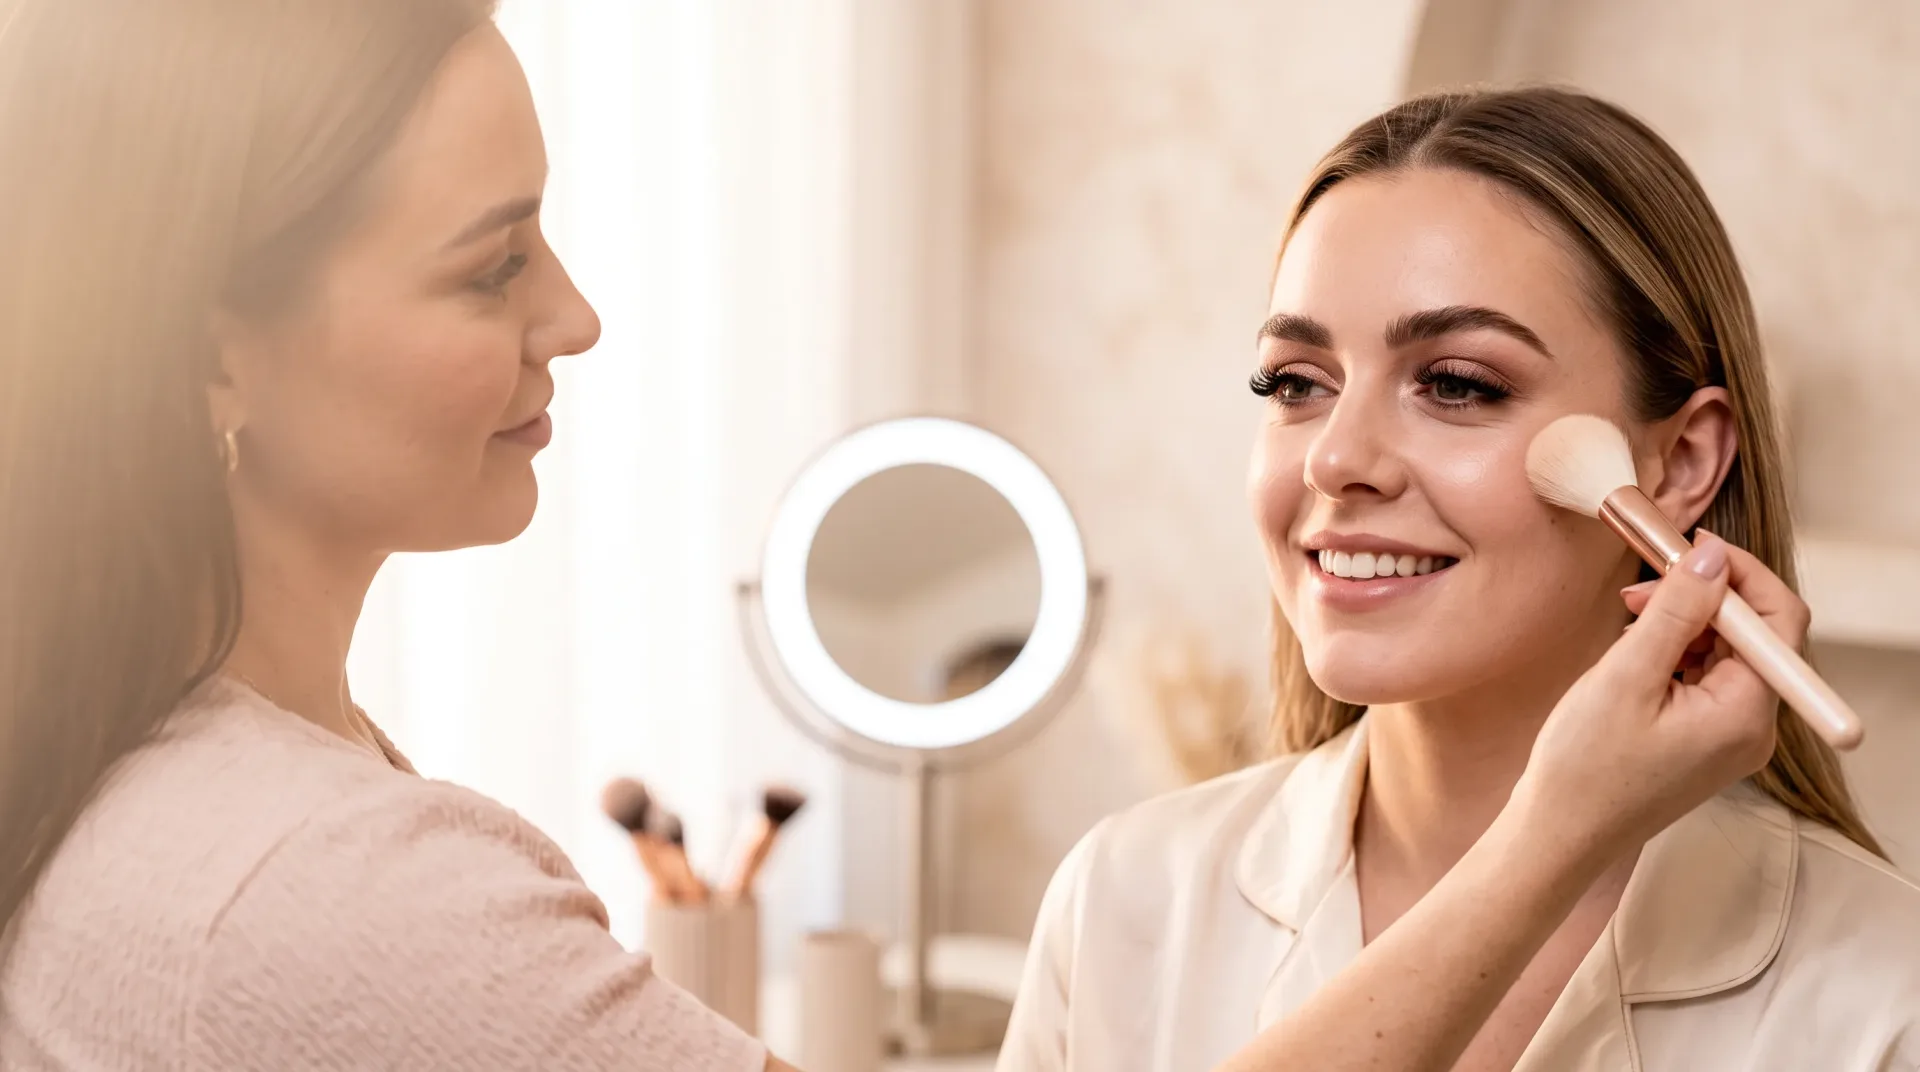
Blush also plays an important role. It brings freshness back to the face and helps avoid the effect of one flat skin tone. Natural pink or peach shades are chosen more often, and they are blended carefully so the color looks soft. Blush is applied with a kabuki brush to the apples of the cheeks and blended into the other products to soften the contours.
Sometimes contour is applied too heavily or left with sharp edges, on the assumption that the camera will smooth out the intensity. As a result, visible stripes appear in the photo, so for a shoot careful blending matters more than strong saturation.
Eyes and brows that hold up
The skin on the eyelids also releases sebum, so eyeshadow can "slide." An eye primer creates a stable base for shadows, pencils and liners; colored pigments hold better on it. Put a small drop on the lids, spread it evenly and then do the eyes. Matte shadows are the most long-lasting and pigmented, but they are harder to apply. You can check the pigment like this: pick up shadow on a fingertip and run it over your hand — if the pigment stretches, the quality is good.
Mascara alone is not enough for a shoot. So the eyes do not look faded, makeup artists add tightlining and use shadows of medium saturation. A matte taupe or light brown goes in the crease so a shadow appears; a darker shade (chocolate, graphite, plum) goes in the outer corner so the eye looks more defined; satin or a matte nude goes on the lid, so the makeup looks alive but without shine.
Waterproof mascaras are not afraid of water and are removed with a special product. Heat-resistant ones are not afraid of moisture up to a certain temperature and come off with warm water. Both last longer than ordinary mascara, but they do not give volume, they only lengthen. For full lashes use false clusters or strip lashes — and if you want lashes that need no mascara at all, eyelash extensions are a separate service.
In photos the brows must be visible, otherwise the face looks less expressive. So they are almost always filled in slightly, even if the shape seems enough in real life. With the spoolie, brush against the direction of hair growth so the gel "coats" each hair, then lay them along the growth. Draw in missing hairs with a pencil in light strokes. The color is chosen as close to natural as possible or half a shade lighter, and the start of the brow is left soft.
Do
- Use an eye primer under shadows
- Choose medium-saturation shadows for the camera
- If you need liner, take soft brown or graphite with a light haze along the edge
- Set brows with gel at the end
Do not
- Apply shadow in a layer so thin it barely shows in the shot
- Draw a thick black liner without blending — it makes the look heavy
- Make the brows too dark — the contrast is harsh under studio light
- Darken the start of the brow
Lips that last through the evening
A lot depends on whether you plan to eat or drink. First, exfoliate the lips with a gentle scrub to remove dead flakes. Then moisturize with a lip balm. The skin becomes softer, and the lipstick goes on more evenly. Use a pencil in the shade of the lipstick, line the contour, and put lipstick or gloss on top. Matte pencils last much longer.
In photos the lips can look lighter than in life, so nude or sheer shades often get lost. To keep the color visible in the frame, lipsticks one shade more saturated than usual are chosen. When the lips are defined, remember symmetry: "you can go outside the lip line by 1-2 mm at most." After the lip pencil, go over the edge with a synthetic brush and concealer to make it neat.
Dense high-shine gloss and clear glosses are often avoided. They reflect light, create glare and can make the lips look smaller. If a slight volume effect is needed, gloss is added only to the center of the lips.
How the studio does it
At our studio the look is built in layers with mirror checkpoints, and the client approves each stage. With the studio's setting routine the makeup lasts 10-14 hours, and every look is photo-tested under flash, with no glitter fallout. Strip lashes can be added at the end, for the night. The studio is in Cranford, and clients come from Linden too — Linden is about twelve minutes away up St Georges Ave.
| Look | Time | Price | What it is |
|---|---|---|---|
| Soft glam | 1 h 30 min | $120 | An elegant special-occasion look with a natural finish |
| Full glam / wedding | 1 h 45 min | $150 | Lasts all day and night |
| Express makeup | 30 min | $80 | A quick look |
Before the appointment: moisturize well the night before, arrive with a clean face, and bring a photo of looks you love and the color of your outfit. The full list of looks is on the makeup page.
After the event, blot, do not rub. Remove the makeup with a proper cleanser, not wipes.